Repositories tab
in the navigation menu to access your repositories.
By default, Glimpse shows a list of all repositories you authorized it to access with your GitHub installation. You can connect a repository by clicking the Connect button for the repository you want to connect.
Connect
To connect a repository, click theConnect button for the repository you want to connect.
You will be able to configure the repository in the slide out that opens from the right. Glimpse will automatically set the repository and default branch for you.
By default, you only need to select the Forge server you want to deploy your pull requests to.
Glimpse offers additional settings to customize your preview requirements which you can learn more about below.
Glimpse will ignore dependabot pull requests and will not deploy them to your preview environments.
Configure
You can configure existing repositories by clicking theConfigure button for the repository you want to configure. These settings will be used to deploy each of your pull requests and apply to each site deployed with Glimpse.
Sites
Glimpse lists all active sites on the Forge server your repository is connected to. You can see the name of the site, the repository, branch, status, SSL status and when the site was provisioned. To preview your pull request, click on the name of the site to open the site in a new tab.Settings
Triggers
Glimpse can deploy your pull requests when:- A pull request is opened (this does not include reopened PRs or drafts)
- An existing PR gets labels with the
glimpselabel (this is not case sensistive and does not apply to drafts) - A draft PR is ready for review
Glimpse will ignore dependabot pull requests and will not deploy them to your preview environments.
If you want to deploy dependabot pull requests, you can disable the
Ignore Dependabot branches checkbox.Server Provider
Glimpse currently supports Forge servers. You can select the Forge server you want to deploy your pull requests to. As a general rule, you should have a wild card DNS record pointing to the IP address of your Forge server. You will see the selected server IP address below the Forge server dropdown.Domains
Glimpse allows you to customize the domain for your preview environments. You can select the scheme, site identifier, and base domain. Glimpse will use these settings to generate the URL for your site. Available site identifiers include:{branch}: The name of the branch.{repo-pull-request-number}: The name of the repository and the number of the pull request.{pull-request-number}: The number of the pull request.
{repo-pull-request-number}, Glimpse will generate a site identifier for your site like my-repo-123.
Glimpse will automatically provision a Let’s Encrypt SSL certificate for sites with HTTPS enabled.
Deploy script
By default, Glimpse uses the same deploy script provided by Forge for Laravel applications. You can customize this when you connect your repository, or by updating your repository settings.Environment variables
Due to the way Forge handles.env files, your .env.example file will be copied on the first deployment. Glimpse will either inject or replace the values in your .env file with the values from the environment variables you provide in the repository settings.
You can learn more about how Forge manages environments in the Forge documentation.
Glimpse securely stores your environment variables in the database using standard Laravel encryption.
Queue workers
You can configure a default queue worker for your sites by providing a queue connection in your resposity settings. Glimpse will handle creating the worker in Forge using default settings.Horizon and Pulse
Glimpse can automatically enable Horizon and Pulse daemons for your sites. To enable this, check the approprate checkbox in your repository settings.Security rules
If you wish to secure your sites with basic HTTP auth, you can provide a username and password in your repository settings. Glimpse will automatically create a security rule for your site.Notifications
Glimpse can notify you when your pull request is ready to be previewed. You can enable manage notifications by clicking theNotifications tab on the repository details page.
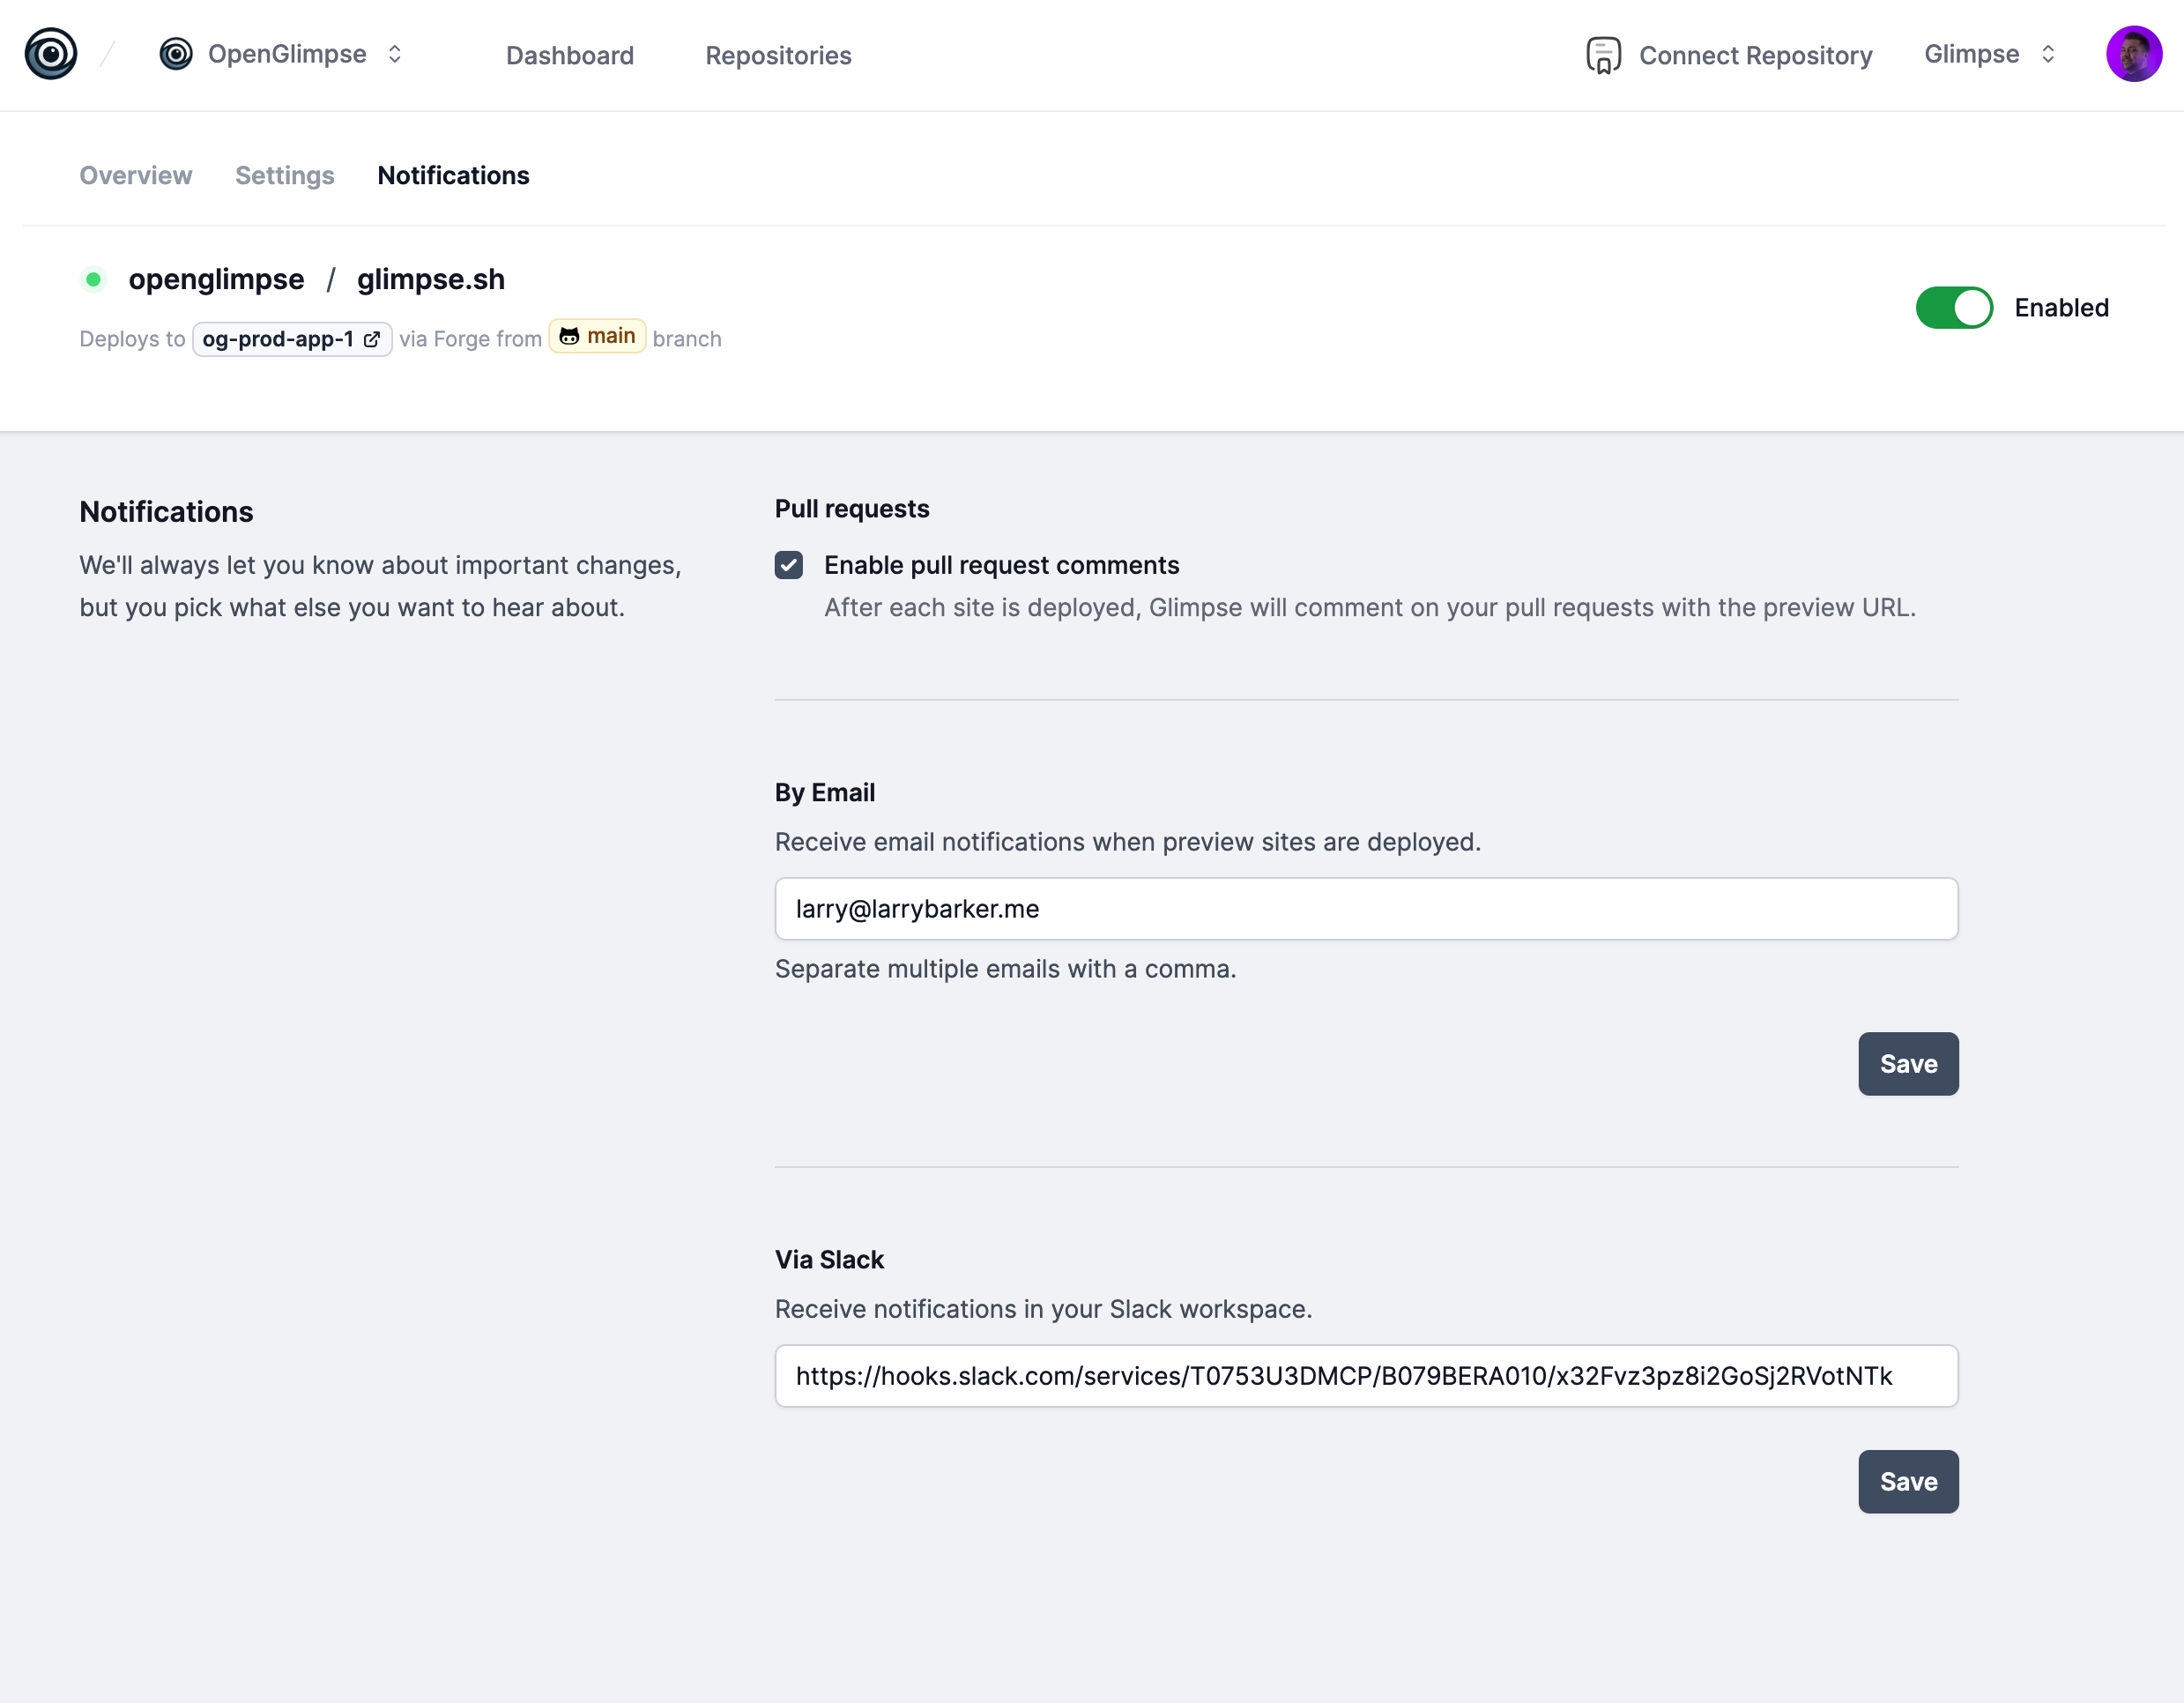
Pull Requests
By default, Glimpse will post a comment on your pull request when each deployment has started, and when it has completed. You can disable these notifications by unchecking theEnable notifications checkbox.
Slack
Glimpse can send a notification to your Slack channel when a deployment has finished. To enable this, you need to provide a Slack webhook URL. Glimpse will send a message to the channel with the following format: